Saved By Grace will be participating in a fun blog hop for all you manicure crazy beauty queens out there! Join me every Monday for “Manicure Monday” where you can not only check out my weekly nails, but check out other awesome nails!
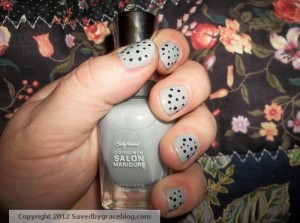
I have been getting a lot of compliments on my latest nails! They are super easy to create and I wanted to share how I did it with my readers! Read on for this great nail art tutorial.
Supplies Needed for Nail Art Tutorial:
- Clean nails
- 2 colors of polish in contrasting shades (I used Sally Hansen polish, one of my favorites because of how long it lasts and doesn’t chip!)
- a mechanical pencil
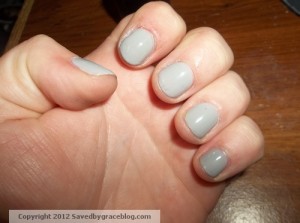
Start by painting your nails one color. Apply 2 coats.
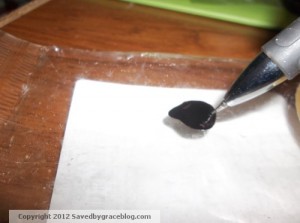
When your nails are dry, dump a tiny bit of the second polish color onto a piece of plastic or plastic paint palette. Lightly dip the tip of your mechanical pencil into the color and make small dots on your nails, with gentle touch.
Finish with a topcoat.
You are now done! Mechanical pencils make great detailers for nail designs.


I love polka dots! That’s cute!
Ellen Christian recently posted..Monday Manicure - Gradient Glitter
That is super cute!
Greta recently posted..UpCycled Mail Sack Tote Giveaway #winthebag
I love it! I will try that next time when I get my brushes.
Jadey Sam recently posted..Manicure Monday
Very cool way to do the polka dots! Great job!
Love these! I am having a Loreal/Redbook houseparty tomorrow night. These would be so cute to do at that!
Tabitha Vos recently posted..Say Hello Diamonds Giveaway
They are so easy to do too! They look hard but only took minutes!