D.I.Y. Natural Hand Sanitizer

Hand Sanitizer is a staple of any mom’s gear. While most people use it a lot during the cold and flu season, it is still important to have on hand for the summer. I use it for outdoor picnics when there is no facilities nearby to wash hands before eating or on camping trips and even after trips to the park.

While it is generally reasonably priced, it can also dry your hands out. Try this easy recipe for making your own hand sanitizer that will work and not be as drying on skin.
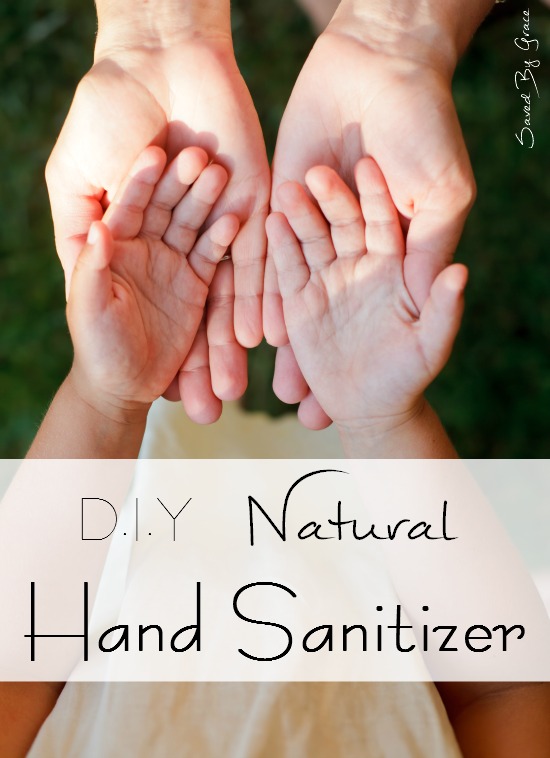
diy natural hand sanitizer


D.I.Y. Natural Hand Sanitizer


To Make Hand Sanitizer, You will Need:

This is the easiest recipe in the world because you simply mix the ingredients together and place them in small containers. I re-use containers from cosmetics and even small toiletry containers. Make sue you wash them out well and that they have a tight fitting lid An old squeeze bottle is ideal.

Using a funnel might make it easier to get it into the containers as well.

If you find your mix is not as thick as you want, feel free to adjust with a teaspoon at a time of the Aloe Vera gel until you get the consistency you want. Just as with store bought sanitizers, you only need a small amount to use. You can also make smaller containers that fit in your pocket, backpack or purse.

The Aloe Vera gel will keep your hands softer than a regular hand sanitizer would and the essential oils make it smell refreshing as well as being used for natural antiseptic properties. Feel free to try another combination of scents if you want to! I suggest citrus essential oils as well.


This post contains affiliate links. Purchasing from them helps me keep the blog going, so thank you!
ThredUp is opening a New Women’s Store!

When I come across good deals and news in the shopping forefront, I like to share them!

Have you ever used thredUp for buying and selling your children’s clothing? Now there will be a women’s clothing store run by the same company!

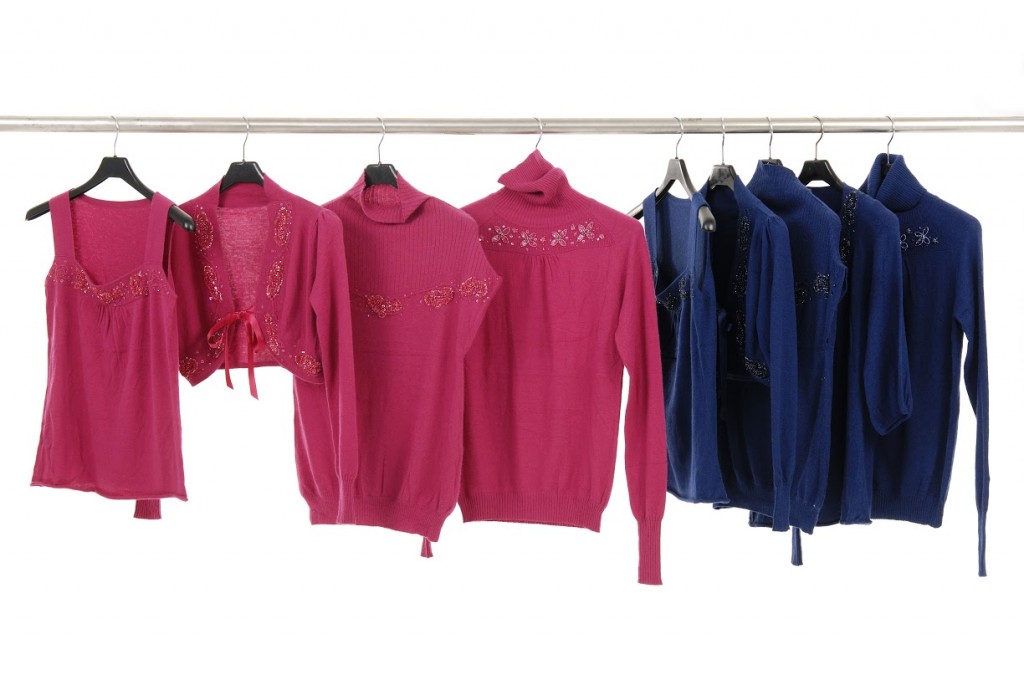
clothing1

It hasn’t had it’s grand opening yet, but can you tell I am super excited? The best part is, for every person you refer to the site right now, you can get $5 credit to use in the store when it opens!

If you haven’t heard of thredUp, let me tell you a bit about this cool shop. You can buy name brand, high quality used clothing for your kids (and soon yourself!) at major discounts! Think: going to the Goodwill looking for those needle in a haystack brand names without the hunting. All the clothing is free of defects and must meet the high quality standards for thredUp. It is like a consignment shop online and the best part is, you can make money selling your own items on the site!

Come join me on the newest online shop by clicking on this link and signing up so you will know when the shop opens, plus you will get your own referral link so you can get credit as well!


Photo © Crystalfoto | Dreamstime Stock Photos & Stock Free Images

Uncommon Uses for Aluminum Foil

When I was a kid, the big saying was, “Reduce, Reuse, Recycle”. While recycling is limited here in my hometown (recently, it has gotten better, but not very convenient), I always look for ways to reduce and Reuse.

One thing I use a lot of in my home is aluminum foil. Most of the time, after it has been used, it is still good to reuse again and I started looking for other ways I could use it as it seemed like such a waste to just toss it in the trash.

foil

I have compiled a list of ways to use it that you may not have thought of!

  • Use it to clean and scrub dirty pots and pans. Make sure not to use it on non-stick surfaces as it can be pretty abrasive.
  • Help your sun-loving plants get extra sun. If you have plants like cacti on a window sill, line your sill with foil so it will reflect light and give them an extra dose.
  • Have picture perfect pie crust edges by covering them until your pie is about halfway done. Remove and your crust edges will brown perfectly.
  • Sharpen scissors by getting a couple sheets of foil and cutting through them a couple times.
  • Clean out your oven by using a ball of foil as a scrubber.
  • I wear glasses and I love to dye my hair. To avoid getting the dye on my glasses, I wrap the ear pieces in foil during my dye time.
  • Clean your grill.
  • If you need a funnel in a jiffy, try using a piece and wrap it in a funnel shape.
  • Cover door knobs and light switches with it when painting. It will be easier to remove than tape.
  • Bugs hate foil. Place a little in your garden around plant bases to keep them away and reflect more light.
  • Use it to help a stripped screw go in again. Wrap some around the screw and try again. It will be temporary, but is a good quick fix.

How do you reuse aluminum foil?

Make Your Own All Natural Lip Balm! {Tutorial}

I am a certified lip balm addict! I spend a lot of money on lip balms and I am constantly testing them out, here on my blog. In fact, my very first review was for a lip balm company!

Of course I was excited when I found out I could make my own with simple ingredients available most anywhere! What I love about this do-it-yourselfer, is it is so simple and so quick and versatile. You can make it smell and taste however you want!

make your own lip balm

For this version, I tweaked a few recipes I found on Pinterest and did some flavors I wanted. First, I made an orange scented and then, my good friend, Joy, suggested a cupcake one. We did this with a bit of butter extract flavoring! Oh boy! It tastes and smells just like a cupcake!

Another awesome point to these balms, is, You KNOW what is in them, so you know they are safe and natural!

Let’s get Started!

100_3769

To make your own All Natural Lip Balm you will need:

  • 4 Teaspoons Beeswax
  • 9 Teaspoons Coconut Oil
  • Flavor or scent of your choice (oil)
  • An Old mason Jar (glass) and an old small pot
  • Water
  • Fine cheese grater
  • Measuring spoons
  • Plates
  • Something to stir with-I used a bamboo skewer
  • Containers to put your balm in

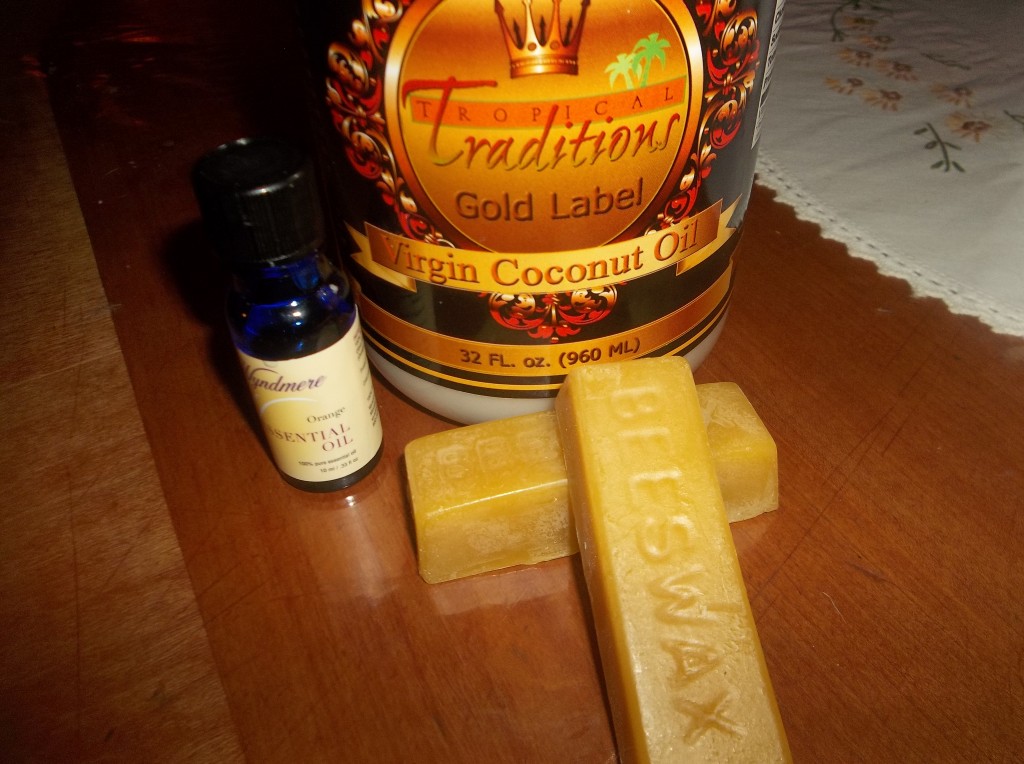
To start, I should tell you where I got most of my supplies. I got the orange essential oil and beeswax at Natural Foods market, the coconut oil from Tropical Traditions and the containers at Michaels. I made these balms for under $10.

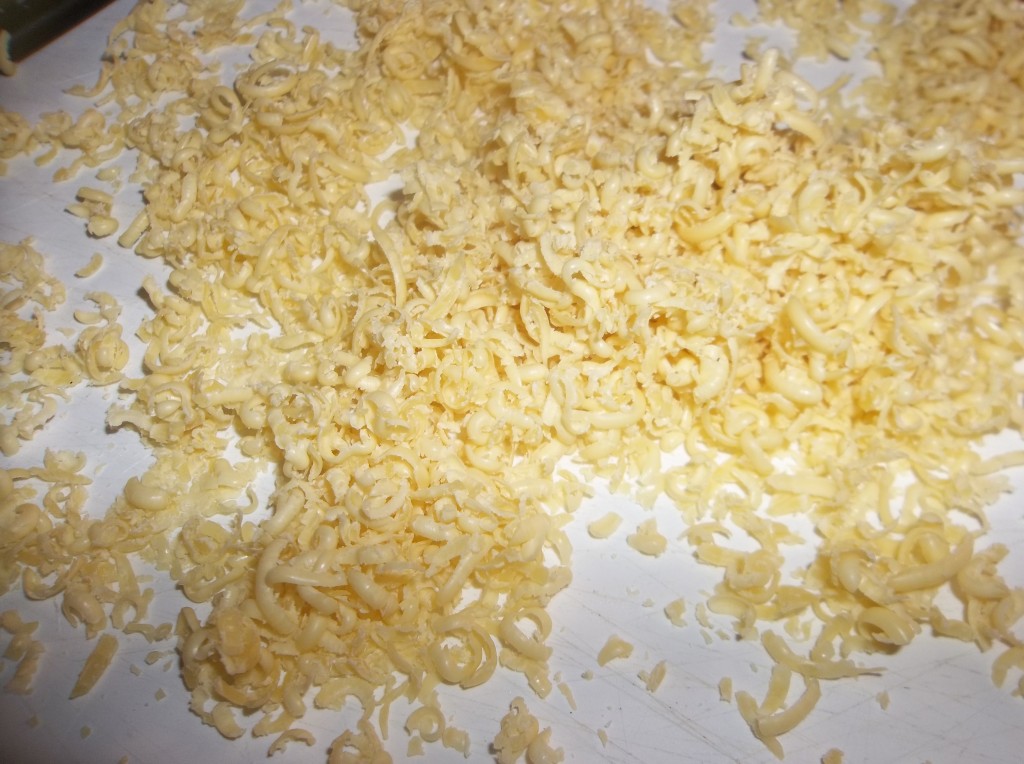
1) Grate the Beeswax on a cutting board. You want the finest grate possible so it melts faster and more evenly. Make sure when measuring, you pack the beeswax in tightly and have a leveled measure of the coconut oil.

100_3767

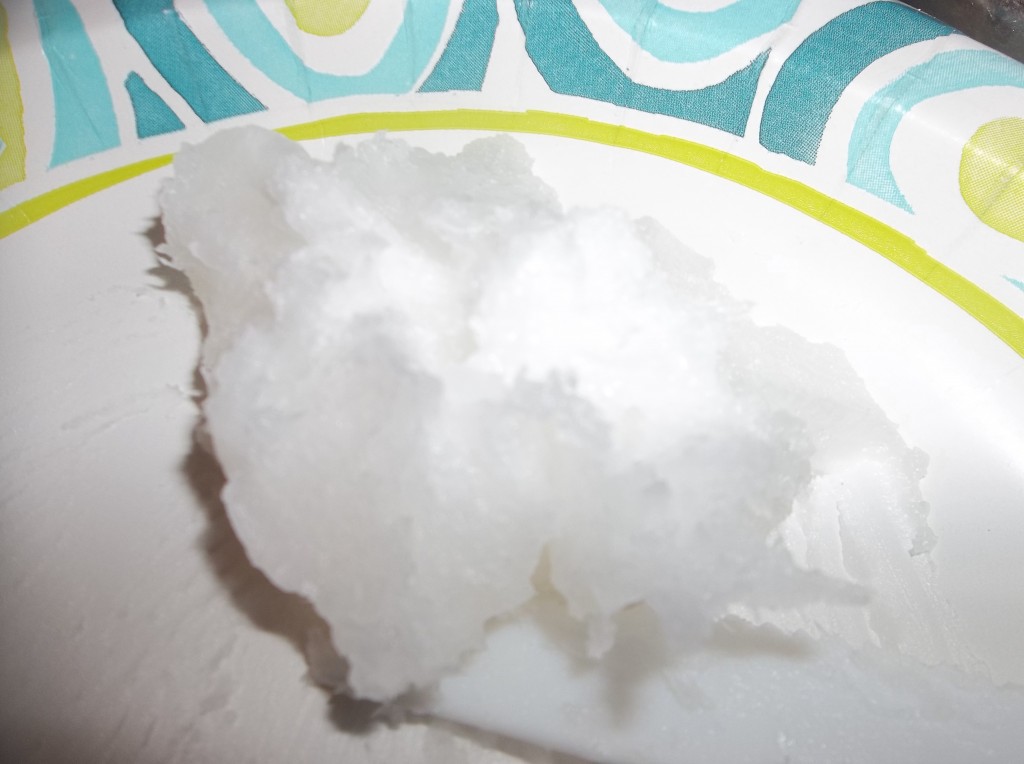
2) Measure out all ingredients prior to adding to the Mason Jar and set on a plate.

100_3765

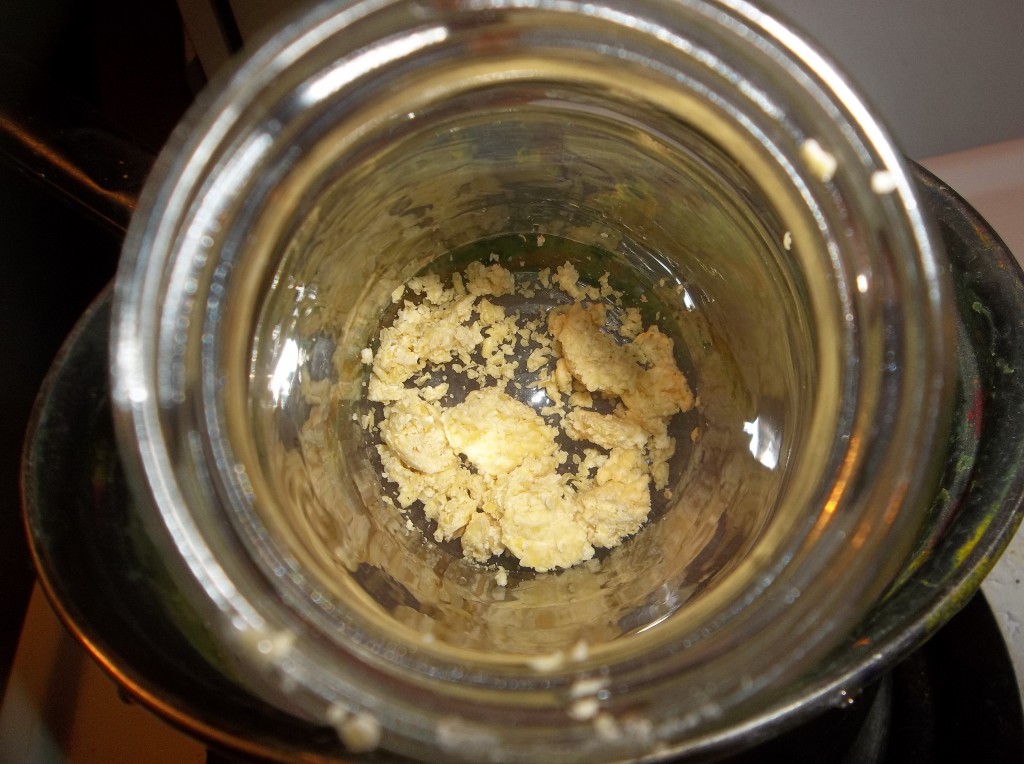
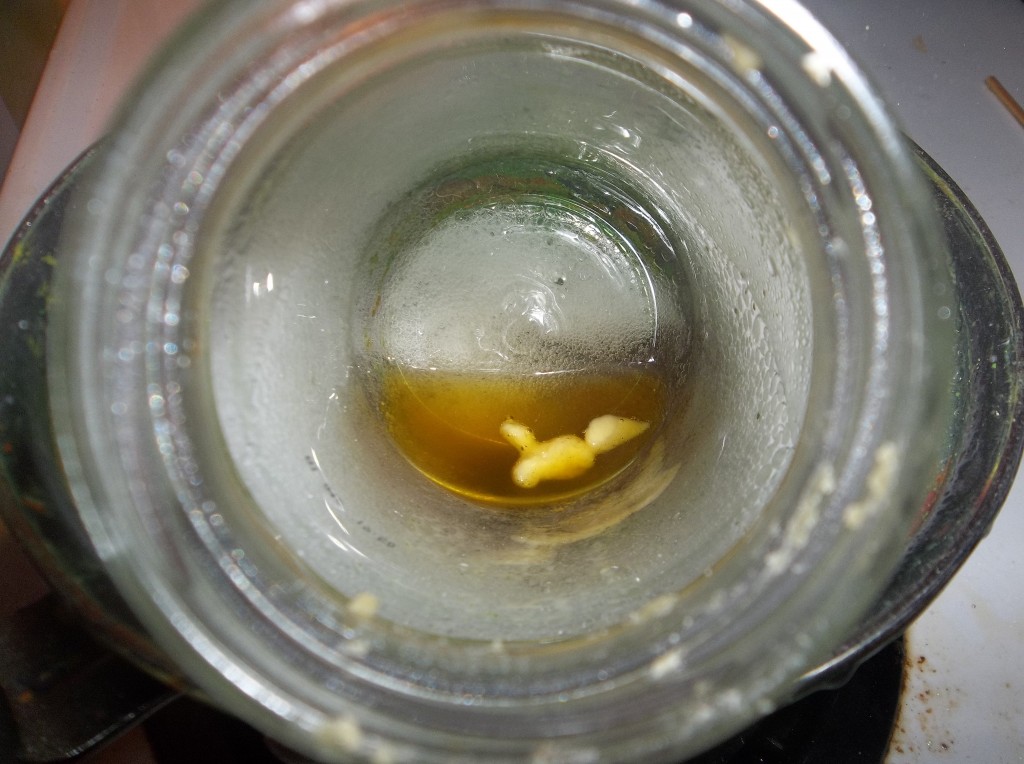
3) Make a double boiler by adding water to a pot about halfway and placing your glass mason jar inside the pot, being careful not to get any water into the jar. Get it to a low boil.

4) Add your pre-measured coconut oil and beeswax to the jar. Stir slowly and wait for it to mostly melt. At this point, you can add your scent or flavoring. I used about 5-6 drops of orange oil for the orange scented one and about 9-10 drops of butter oil for the cupcake one.

100_3762

100_3772

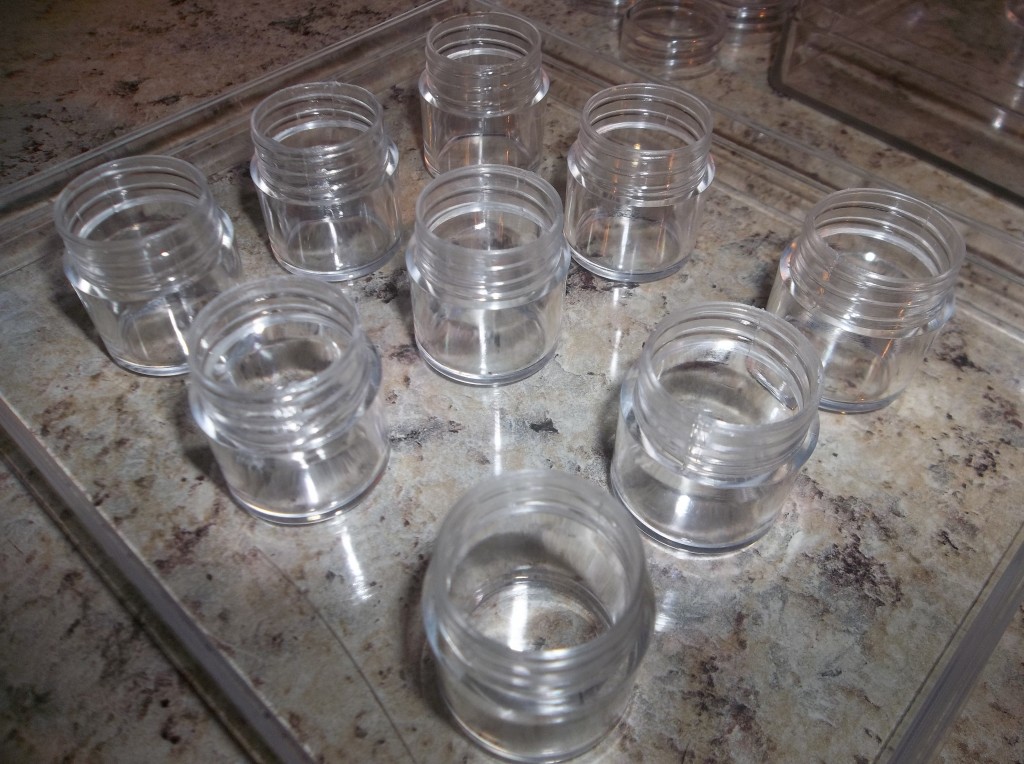
5) Set out your containers with the lids removed on a tray.

100_3773

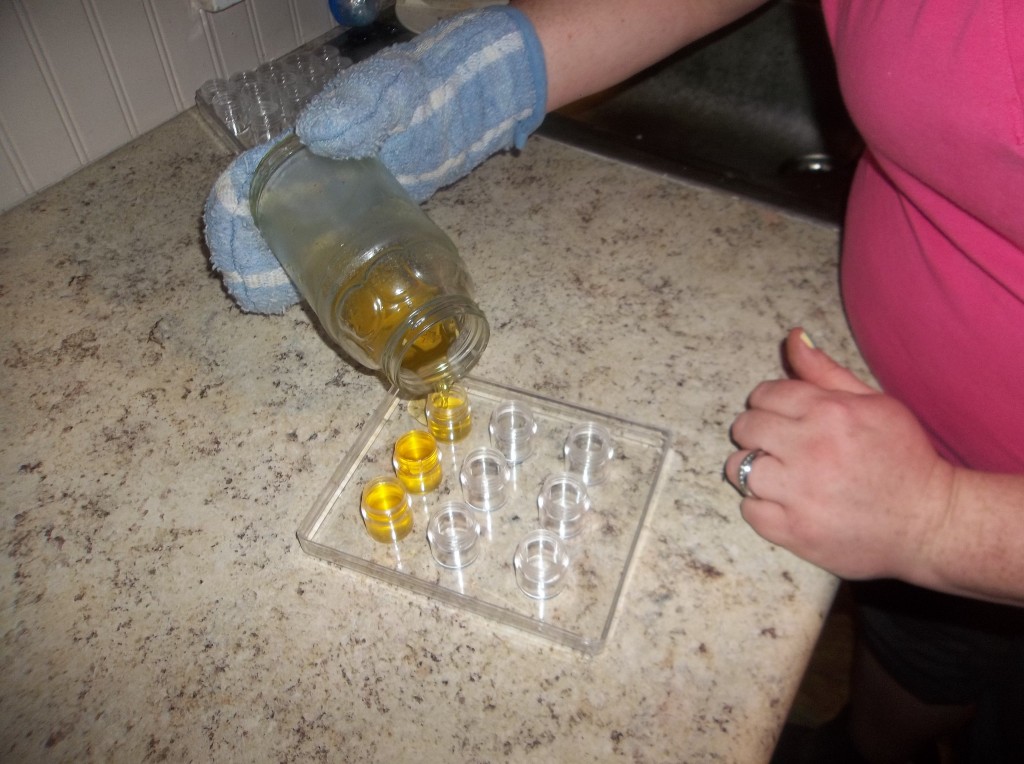
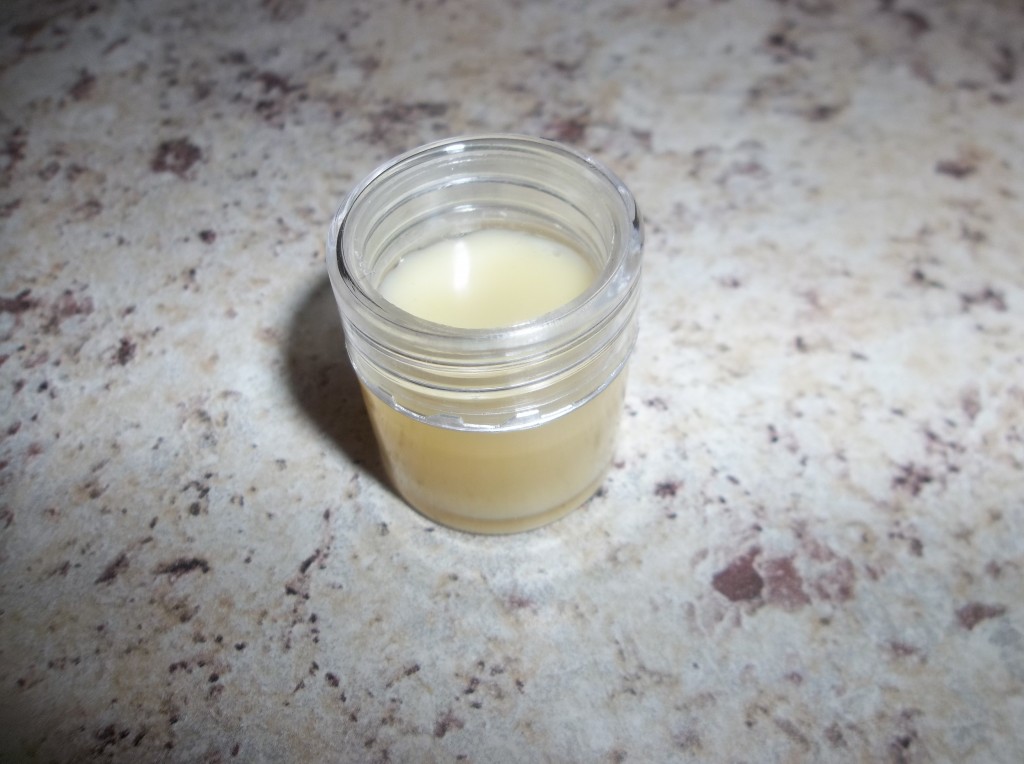
6) Using a potholder, carefully remove from heat when all ingredients are melted. Turn off stove. Pour carefully into containers. Make sure you fill all the way to the top. Allow to cool. Mine only took about 5 minutes to somewhat harden and about an hour to fully harden.

100_3777

7) Put caps on and enjoy!

100_3778

100_3779


Are you going to give this a try? These make great favors at weddings and I think this would be a very fun project for an older kid’s sleepover. The beeswax will help hold in moisture and the coconut oil is amazing at softening lips!


Simple Ways to Save Money

I am always looking for ways to save money. I just feel like there is no reason to spend more than I should have to. To save money was one of the reasons I started couponing to begin with. What seemed like a daunting task that I would never get the hang of, quickly became almost a rush of excitement every time I saw the saving rack up and more money in my pocket.

While I highly suggest couponing, no matter where you live (even if you live in a no-double couponing zone like I do), there is so much more you can do to save money a little here and there to really make a difference!

To start, get a pen and paper. You will need to have a quiet space to think. This will be your time to jot down any places in your life you can “trim the fat” outside of my own suggestions below. You can live very good, even when living frugally. It is a lifestyle change and with a little practice, it gets not only easier and easier, but even enjoyable!

save money

  • Stop wasting things. Re-use when you can. Use leftovers and even plan leftovers for the next meal.
  • Buy in bulk when it makes sense. In other words, not everything is worth buying in bulk. If you have no reason to buy a ton of something because it won’t be used up in time, it won’t make sense. Something I always buy in bulk is spices, though. I can get 3 times the amount for 1/3 of the price of the already bottled stuff.
  • Eat less meat. This is two fold-good for your health and your wallet. Just one meatless meal a week can help. I try to do at least 2.
  • Do a soup night a couple times a month. This is a good way to use leftovers. For instance, if you have some leftover veggies and roast, turn it into a stew.
  • Find small ways to make changes. For instance, in baking and cooking, use instant milk. Stop buying bread and invest in a bread machine if you don’t have a stitch of baking talent (raises hand!). Make coffee at home instead of hitting up the coffee shop.
  • Buy stuff for next holiday at the after holiday sales. This is not just a good idea at Christmas. Buy costumes for next Halloween, buy Easter egg dying kits for next Easter.
  • Make as many of your own cleaners as you can. I have a lovely tutorial on making your own laundry soap.
  • Coupon and plan your meals around what you can get.

I hope these tips will inspire you to make the jump to a frugal diva! What tips do you have that I may have missed?


Photo © Pemotret | Dreamstime Stock Photos & Stock Free Images

Using Online Coupons to Maximize Your Couponing!

I have written a few posts on couponing and have mostly talked about the traditional clipped kind. With this being a time where everything seems to be digital and online, it is important to remember not to completely ignore how valuable online digital coupons can be.

coupon41

A few ways that online coupons can be used are for:

  • Discounts (a percentage off) on products
  • Actual dollars off of products
  • Free products with purchases of certain items

Online coupons are simple to use. In many cases, you just plug in a code at the time you purchase in the box provided. The order system will automatically give you your discount and apply it to your total.

Online couponing can be very rewarding and often times, there are exclusive deals available in online stores only. These coupons can only be used for online purchases and not in the retail storefronts. It is a good idea if you are about to hit up a local store (especially a chain) to first check out online coupon sites and see if there is an exclusive online coupon you can use and save yourself not only a trip down to the store, but also some cash!

Often times, couponing sites will have the coupons organized into categories for easier browsing. You may even find a coupon that you were not specifically looking for.

I love using online coupons to get free deals. Sometimes, you can get lucky and find coupons for stores online that end up making the price of the item free or nearly free or just having to pay for shipping. As a blogger, I can attest to loving having something show up at my door. It is easy and convient as well as a ton of fun to shop online.

Your best deal may be right around the corner when you consider using online coupons!


* I was compensated for this post. Although I was compensated, these words and opinions are 100% my own.

How to Start a Small Savings When You Live “Paycheck to Paycheck”

Like many people in this economy, my husband and I live “paycheck to paycheck”. We used to have no savings. I decided enough was enough and started saving what I could. There are some very good reasons to have a small savings for emergencies. One being that it takes a lot of stress off you in case of things that happen to all of us like a car breakdown, a travel need for family emergencies, last minute gifts, unbudgeted for bills and so on. If you have a small fund for these things, it won’t even need to eat up any of your paycheck in case you run into an extra expense. The key is to not see it as extra money to spend, but money for emergencies.

money

Here are some creative ways to get a few extra bucks to save a bit aside:

  • Get a “piggy bank”. Seriously. My husband and I save all change we get, even the pennies. You would be surprised how quickly it adds up and since it is all in change, it is less tempting to spend.
  • Sell your unneeded stuff on eBay and put any profits into this savings.
  • Look where you can “trim the fat”. For a short while, put this money in your savings. For instance, my husband and I both smoked. For a short while when we were quitting, we put the money we would normally spend into savings.
  • Actually come up with a budget. You would be seriously surprised where large chunks of your money are going. That latte you get every day? if you get one at $3 every day, 5 days a week, you have spent over $60 a month on coffee. Make time to make coffee in the morning and you can put that $60 a month into savings and not feel a change in your budget.
  • If you can in your area, recycle. Even that 5-10 dollars you get a couple times a month will add up.
  • Clip coupons and for a period of time, put half of your savings on items into your fund.

I wish you luck in your savings endeavors!


Photo via flickr by Tax Credits