Bubble Pizza

bubblepizza


If your family loves pizza, but you’re on a budget and can’t order take out every week, then you’ll love this pizza recipe. My family really loves pizza, but since we’re on a budget I have an ongoing list of homemade pizza ideas to keep them happy. This particular recipe is one of my most frugal. The ingredients are super simple and inexpensive. You can be as creative as you want and add just about any toppings your family likes to it. It is just the basic concept that you should appreciate and then customize it to fit your family.

You may have heard of a bubble pizza before, but if not imagine if you will the crust, only instead of being flat it bubbles up because it is made from canned biscuits all pieced together. You can make it as big or small as you want and can even make personal sized pizzas to let your kids choose their toppings.

Bubble Pizza Recipe

Ingredients:

canned biscuits

jar of pizza sauce

mozzarella cheese – You can use other cheeses if you wish.

toppings of your choice – My family enjoys pepperoni, bacon, mushrooms, spinach and chicken.

Directions:

Open the canned biscuits and flatten them with your hands into a pizza crust shape onto your pizza pan. As I said before, you can make the crusts any size you want. Use three biscuits to form personal sized pizzas or use the whole can or several cans to form a larger pizza crust. After the crust is formed you basically add the sauce, cheese and toppings like you would with any other pizza. Finally, bake in the oven at 350 degrees until crust is brown and cheese is melted and bubbly.

The most unique thing about this pizza is its crust and the fact that it is inexpensive. You can get as creative as you want with it or stay as simple as you wish.


Alyssa is a Christian mom blogger and published author who loves helping moms with WAHM tips, frugal recipes, budgeting, and parenting. She, her husband (Greg) of 13 years and her three precious children call the Deep South home.

10 Uses for Plain White Vinegar

It’s amazing what you can do with simple ingredients. Vinegar is a household product that most people have in their kitchens. Vinegar is cheap. It makes awesome salad dressing, but did you know vinegar is so versatile it can be used in so many more ways? Take a peek at my list for 10 ways you can use plain everyday white vinegar.

spray1

1. Have you ever forgotten a load of laundry in the washer and gotten that musty smell? Don’t re-start the whole cycle wasting time and laundry soap. Just put 1/4 of a cup in and run it on rinse. The smell will be gone in a flash!

2. Mix it with equal parts vinegar and water and you have an odor neutralizing all purpose cleaner. If you don’t like the smell of vinegar, try adding a citrus peel to the mix.

3. Clean your windows and mirrors with it. It is much cheaper than window cleaner and it will leave it streak fee just as well.

4. Clean that mess in your microwave with it. Just put a bowl of equal parts water and vinegar in the microwave and warm it up for 30 seconds. Let it sit for a minute and take a cloth and wipe clean. The vinegar will loosen all the stuck on grease and grime.

5. Soothe a bee sting or a mosquito bite with it. Just dampen a cotton ball and dab it on. (for more mosquito bite fixes, see this post)

6. Run a cycle of vinegar through your coffee pot. This will get rid of any built up hard water spots and refresh your coffee maker to like new condition. Don’t forget to run a cycle of water after or you may be in for a nasty cup of coffee!

7. Use it to tone your face. For most people a 1:1 ratio of water to vinegar will work. Adjust if you have more oily or dry skin.

8. Looking to make your locks shine? Rise your hair with vinegar (either plain white or apple cider) and you will see it improve!

9. Clean stuck on foods with it. Just fill the container with water and add 1/2 to 3/4 cup of vinegar and let soak over night.

10. Weeds got ya down in the garden? Spray undiluted vinegar on them.

4 Ways to Save Money on Your Next Move


box

Whether you are moving down the street or across the country it can be expensive. Since you can’t avoid moving, you can take several precautions to ensure you don’t go broke during the process. Here are a few tips to make your moving life that much easier:

#1. Plan Ahead

This may sound like the simplest tip, but it’s the one that people forget the most. When moving, you need to plan ahead from every angle. Canceling the Internet on time can keep you from having extra charges.

Even the time of month you choose to move can save you a lot of time and money. Also, make sure you get your mailing address changed and even your electric, gas, and water transferred. All of these accounts may not seem urgent, but if you miss an important bill, you can receive large late fees!

#2. Ask Friends and Family

It seems as though when it’s time to move, everyone disappears. However, do not be afraid to pick up the phone and ask for help from friends and family. Hiring movers is not only expensive, but almost unnecessary if you can find enough people to help you. Keep in mind that you will need help packing and moving, so recruit as many warm bodies as you can. Don’t forget to pay them in food and drink currency though.

#3. Part with Items

No one likes to part with items that they love. However, moving usually means getting rid of things you haven’t used in a while. That old chair sitting in the corner that no one as sat in for 15 years can probably go. Also, grandma’s old tapestries that are just taking up storage can probably go to.

Although the parting will cause sorrow, it will limit the amount of unnecessary items you need to take with you on your move. Have the kids get rid of some of their toys. Maybe it’s time that mom and dad part with some of their toys as well. You know that elliptical that’s been sitting in the corner for 15 months? Time to go!

#4. Sell Those Items

Maybe you are moving across country and need to make some quick cash. You remember all of those items you can’t use anymore? Sell them for dirt cheap, to someone who will use them. At the end of the day, if no one buys the items, you can simply donate them. Moving is the perfect time to dig through your storage items and sell items that you no longer need.

Are you ready to move? Thankfully these tips will help you save some money and your sanity. What are you waiting for? You’ve got packing to do!


Thanks to Jess Weaver for this wonderful post!

8 Natural Mosquito Bite Remedies

mosquito


Summer’s in full swing and so are the bugs. If you live anywhere near water like we do, (we live a couple blocks from a river) you know all too well that these little buggers show up out of no where and ruin your day. While the best way to not deal with bites from them is to prevent them with sprays or citronella candles, that is not always something you think of when sitting outside to take in the cooler evenings in your backyard and once the bug bites are there, they itch enough to drive a person crazy!

You can try just taking some allergy medication or using an anti-itch cream from the store, but if you don’t have any of that on hand or prefer to go a more natural route, try the following ways to solve that annoying urge to scratch.

Here are 8 natural Mosquito Bite Remedies:

1. Mix baking soda and water to make a paste and apply this to the bite.

2. Try using the inside of a banana peel to get some itch relief.

3. If you have a huge spot with a lot of bites, or one that is particularly big and swollen, try ice.

4. Apply essential oils. Lavender and Tea Tree seem to work the best. You can find these at most health food stores.

5. Although smelly, onions are said to relieve itching and burning associated with bites. Just rub a freshly cut one on the affected area.

6. Clean the bite as soon as you notice it with soap. A clean bite is less likely to itch as bad in the long run.

7. Soak a cotton ball on vinegar and apply it to the bite.

8. Make a tea compress by using a tea bag that was just used and applying it to the skin. I find that camomile works wonders.


Homemade Liquid Laundry Soap Concentrate

One of my most popular posts here on Saved By Grace has been my tutorial on how to make powdered laundry detergent. I promised a while back that I would follow up with a liquid laundry soap version and I finally was able to do it.

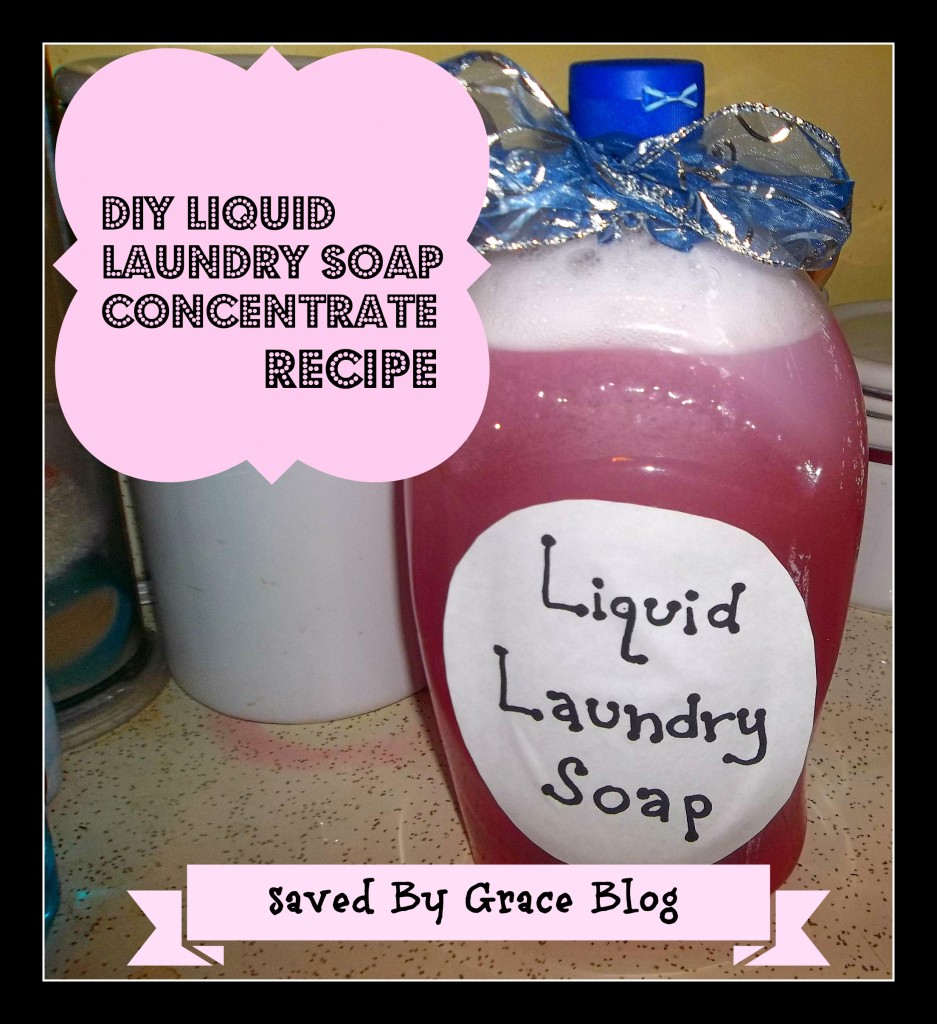
Liquid laundry soap

This recipe is for the concentrated version of liquid laundry soap. There are many recipes out there for liquid laundry soap, but most of them are not concentrates. I made this one because I don’t have room for a large tub in my home as I do not even have a washer and dryer set and must utilize the laundry mat. Besides, who wants to haul a huge tub with them every time they need to do laundry at the Mat?

I love the concentrate because you use less of it. Only 1/4 of a cup per load.

The savings? Just like with the powdered version, its just pennies per load. I made this for less than $1.00 and it will give me about 40 loads.

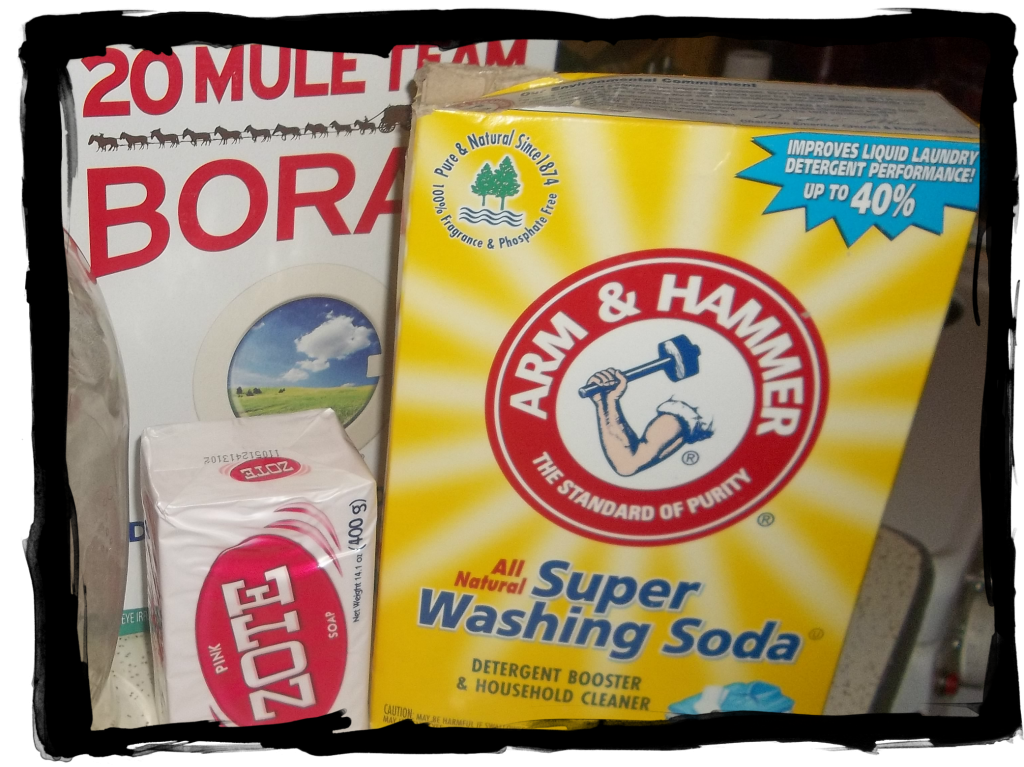
You will need the following to make liquid laundry soap concentrate:

  • 1/2 cup Washing soda
  • 1/2 cup Borax
  • 10 cups of Water
  • 1/4 bar Zote soap

soap1

All of these, besides the water obviously can be found in the laundry department. A word about Zote: I prefer it over Fels Naptha for this recipe because it melts better and faster and does not separate after it cools.

1. Start by simmering 6 cups of water in a pot.

2. Using a grater, grate a 1/4 of a bar of Zote soap.

soap2

3. Add the Zote to the simmering water and give it a stir until it melts.

soap3

4. Add the washing soda and borax and mix until dissolved. Remove from heat.

soap4

5. Add 4 cups hot water to your container. I use a 2.5 quart bottle from a bulk container of hand soap. It works great because this recipe fits perfectly and it has a pour spout.

6. Pour the Zote mixture into the container with water.

7. Allow to sit overnight, until cool. Use 1/4 cup per load.

Please note, you may not get a lot of sudsing with this and that is fine. It is still doing it’s job! Also, don’t worry if it looks strange the next day, just give it a shake or stir and it will be fine. Since this is a concentrate, I recommend adding it to the water before you put the clothes in so it can “melt”.


Do you plan on making this or the powdered version and giving it a try?

buttonliquidsoap

Double Duty Household Items

tooth


Plastic wrap, paper clips, cotton balls, toothbrushes..we all have these in our home. But other than the use we usually use them for, they seem to only serve one purpose. Until now! Let me show you my favorite ways to use these common household products!


sun dazed / Foter.com / CC BY-SA

Cotton Balls:

What you usually use them for: Cleaning your nails from nail polish, applying makeup and using in first aid.

New Use: Slip one into a rubber glove to protect your gloves from getting snagged on your nails, doing fine detail cleaning in hard to read areas and even for play with kids with crafts or games.


Nicole Lee / Foter.com / CC BY-NC-SA

Plastic Wrap:

What you usually use it for: Keeping foods fresh in the fridge.

New Use: Wrap your utensils in it when moving to keep them clean and together, make your rake or hoe have a tighter grip by wrapping a few layers around the handle and store a paint roller or paint brush overnight without having to rinse.


ccharmon / Foter.com / CC BY-ND

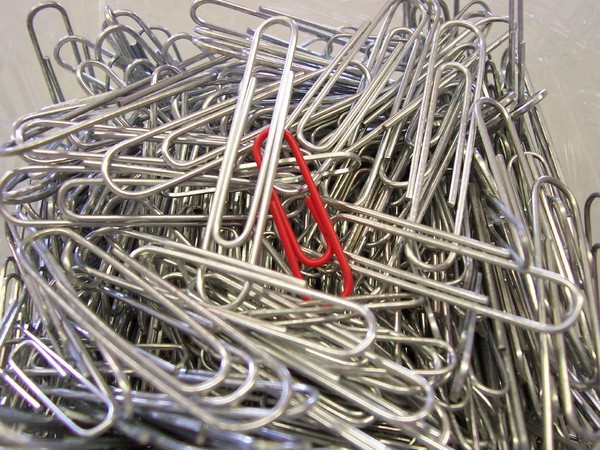
Paper Clips:

What you usually use them for: Keeping papers together.

New use: Use as a book mark in a magazine, replace a lost zipper pull and clean under your nails after gardening.


Orofacial / Health Photos / CC BY-SA

Tooth Brushes:

What you usually use them for: Keeping those teeth pearly white.

New Use: Detail cleaning on grout, a mini paintbrush for small chipped areas of furniture and to polish your jewelry.


What household products do you use in unique ways? Do you use any of the above products in other ways I did not mention? Tell me in the comments!


Design on a Shoestring

homedecor

I spent a good year collecting items for my ultimate design I wanted in my home. It was hugely refreshing when I finally had enough to do it and went through my home and de-cluttered a the beginning of the spring season this year.

The reason it took me so long was I do not have a great budget to work with and since I rent, my limitations on the wall coloring and flooring is something I am stuck with. However, that doesn’t mean that I can’t have a beautiful home on a shoestring budget!

100_3664

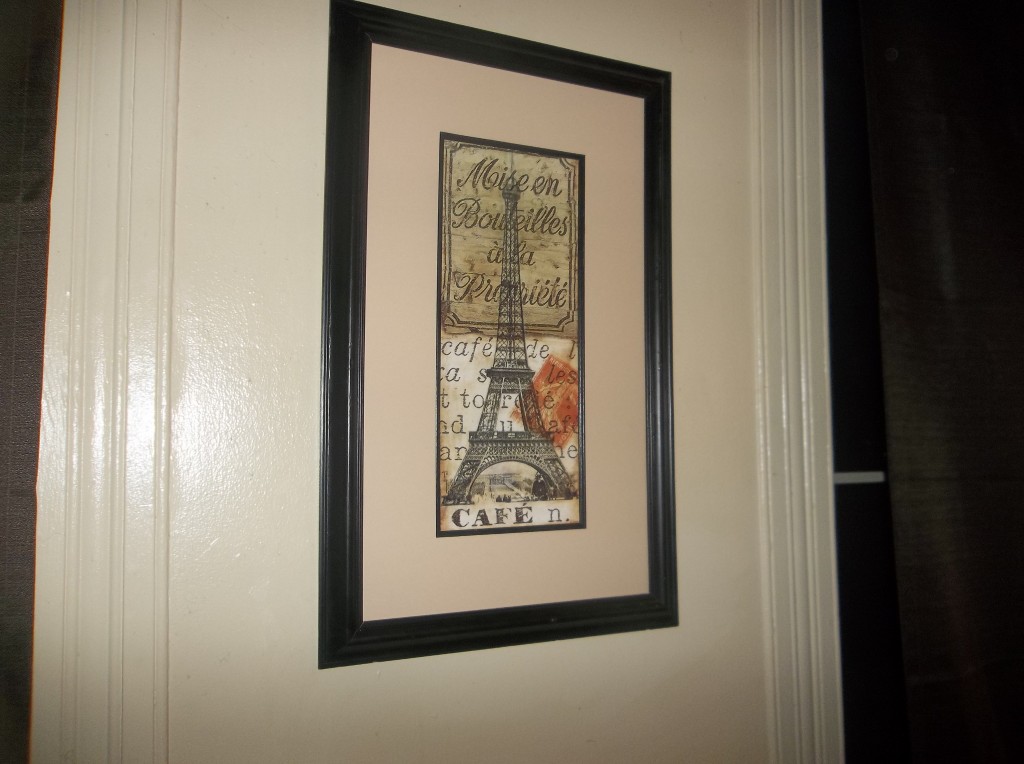
Eiffel Tower Picture from The local Goodwill. It was $5.00

Here are some of my tips to creating a beautiful space:

  • First, decide on a color scheme you want to have. It is vital to making sure you have a beautiful design. Pick 2-3 colors/shades you want to stick to and stay with them. In my case, I went with warm autumn inspired colors such as olive green, brown and orange. Deciding this first will help you know how to find the right items.
  • Go for simplicity. If you look at home decorating magazines and showrooms, you see one theme: simplicity. There is no clutter, and the colors all go well together. This does not mean there is no place for knicknacks in a well designed home, it just means that the ones you have should fit the theme and be the ones you really like.

100_3665

All pillows from the Goodwill, Down comforter for $7.00, Sign on wall at Ross outlet stores was $5.99

To find items to decorate with:

  • For faux floral arrangements, something I love, I hit up my local Michael’s craft store. Often at the end of the season, they will heavily discount their arrangements that were made by employees during classes. I got this one for a mere $2!

100_3671

  • Don’t forget your local thrift stores. The right pieces may just be there, hiding among the knicknacks. You can also re-purpose what you find. I bought a calendar and placed a favorite picture in it in a thrift store frame.

100_3661

  • Don’t put your nose up at dumpster “diving”. While I have never actually climbed in a dumpster for items, I have found some great pieces of furniture in them.
  • Outlet store like Marshall’s, Ross and T.J. Maxx have amazing deals on indoor decor.

The best tip to remember is you don’t have to pay a lot to have beautiful indoor design. You just need a little creativity and a willingness to do it!

Menu Planning Made Easier

Like most busy moms, I find taking the time to do menu planning hard to fit in my schedule. Too many times, we opt for take out and I hate this because I have culinary training under my belt. Lately though, in an effort to spend less, because taking the easy way out with take out is hugely expensive on our food budget, I have been looking for ways to make it easier to shop and menu plan with less time and stress.

Follow some of these tips and you may be finding yourself having an easier time as well!

grocery

I-5 Design & Manufacture / Foter.com / CC BY-NC-ND

Grocery shopping:

At the store, have a goal in mind. Don’t just meander around with no planning. I find that when I have a plan in place, I not only spend less time in the store, but less money as well by not picking up extras.

Make a list before you go. The best way I find to do this is after I have decided what I will be making for meals I then write down ingredients.

If you are a heavy couponer like myself, organize your coupons by sections of the store. Only take with you what you will need for this trip so you won’t feel encouraged to pick up more while you are there.

For basics like milk, bread or peanut butter, enlist your family’s help. Put a dry erase board on your fridge and whomever uses up the last of an item, they write it on the list. Add these items to your list before you go so you don’t waste your time making several trips a week because you forgot an item.

If you have older kids, ask them for help. I often will ask my daughter to go to aisles close to the one I am in and get the item I am needing from that aisle. This is great because it saves you time, keeps the kids occupied and teaches them to be frugal shoppers who can compare labels, prices and deals.

Do a weekly shop. This will cut down on food waste and allow you to only spend what you need for the week.

Compare prices with fliers from stores that are often available online before you go. Limit yourself to two stores that have the best deals. While I am a heavy bargain shopper, I find it wasteful of my time to go to more than that.


Menu Planning:

Before you plan for the week, see what you already have on hand and build from that. Less waste and less money spent at the store.

Try to think of ingredients that can be bought in bulk and used for multiple meals throughout the week.

Plan for leftovers you will have and plan meals using those. For instance, if I plan on making spaghetti one night, later in the week, I might make lasagna or a pasta bake using the leftover sauce.

If you are having a hard time deciding what to make, think about frozen meals you see in the store. Create your own dishes using the sides they pair with main dishes in them.

Stuck in a food rut? Browse blogs, recipe boards and pinterest to find some ideas. You may just get some inspiration for your own recipes!

Think of ways you can alter recipes for in-season foods like fruits and veggies. You will spend less money and create something new for your family to enjoy!

Stick to simple for breakfast. Pick up some oatmeal, cereal, grits or eggs for a main meal. Add in some fruit and yogurt for on the go!

Look at fliers for stores in your area online and make meals around what is on sale.


How do you make the most of your time for meal planning and shopping?

Green Laundering Tips

In an effort to make simple changes to going green, one way you can do this is by following greener tips for saving energy and time. I love the added bonus of saving money as well!

laundry

Photo credit: mysza831 / Foter.com / CC BY

If you are really wanting to go green all the way with your laundry, you might try air drying outside, but that is not always possible where you live. Also, please check out my popular post of making your own powdered Laundry detergent! In less than 15 minutes, you could have enough detergent to give you 100 loads for less than $5.00!

Tips for laundering a more green way:

  • Keep Lint Screens Clean. Not only are they a possible fire hazard, but keeping them clean decreases drying time.
  • If you can, Line dry your clothes. You will love the fresh clean smell!
  • Transfer right away. When you finish a load, use the residual heat in the dryer to start a new load.
  • Do your laundry during off-peak hours. Call your energy company to find out when these are.
  • Re-use items like towels. Who doesn’t like less towels to do?
  • Separate loads for better, more efficient drying. Put heavier items with other heavier items and lighter items with other lighter items. You will get more uniform drying this way.
  • Don’t over-dry. This not only puts more wear and tear on your fabrics and dryer, but wastes energy.
  • Use hot water only when you have to. Unless it is heavily soiled or a load of whites, cold water will work just fine for most fabrics.
  • Pre-treat stains. You can then do a shorter cycle.
  • Match your water level with load size. Only do full loads if possible.
  • Do laundry when you have time so you don’t forget about loads in the washer. This will save you from having to re-wash those musty loads you forgot about.

What do you do to be more green when doing your laundry?

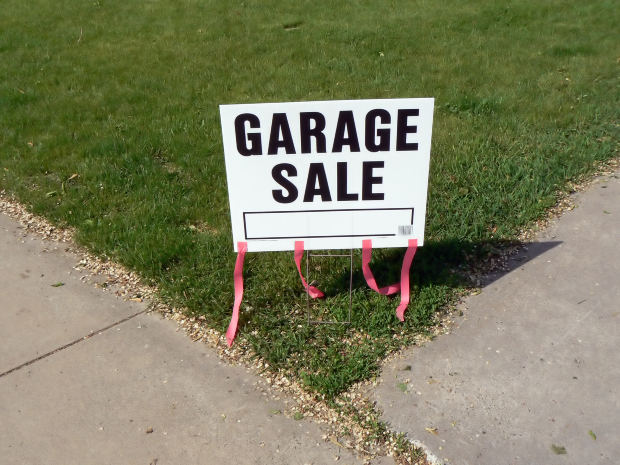
Holding a Successful Yard Sale

With the warm weather upon us, many of us love to go hop from yard sale to yard sale, searching for hidden treasures and amazing bargains. Some of us even have enough to sell after doing a bit of our own spring cleaning. Holding a yard sale can be a great way to get rid of those unwanted possessions, outgrown clothes and toys and make a few bucks on the side.

yardsale

Photo via morguefile by LadyHeart

Holding a yard sale can be a daunting project to take on. Many people don’t even know where to start. I have put together some tips on how to hold a successful yard sale.

  • Have reasonable expectations.
  • Check with your city about any restrictions or permits you may need to get in order to hold a sale.
  • Advertize in local newspapers and on sites such as craigslist. In your ad, note some of the items you think may draw people in such as furniture or tools.
  • On the day of the sale, hang several colorful and bold signs near the sale. Include arrows directing people to your home if possible.
  • Separate clothing by size. Hang some of the nicest items. Make sure the clothes you are selling are clean and free from stains, rips and tears. No one wants to buy clothing that should be made into rags.
  • Mark prices on each item so people don’t need to ask you. You may consider grouping items on tables according to prices.
  • Hold the sale with several other families. It will give you more people to help and allow you to share the costs of the permits/ads.
  • Place larger items like furniture near the street so drive by potential customers can see it.
  • Have boxes, bags and newspaper handy for wrapping up items.
  • Consider doing a “bag sale” for large volumes of clothing. For instance, do $5 a bag.
  • Be aware that some people like to be early birds and will show up an hour or so before you officially open for business. Decide how you will deal with them. Will you allow them to shop or enforce a strict policy that the sale starts on time?
  • Keep money with you at all times. A barista apron is an excellent way to keep it on you.
  • Go get some change before the sale. Get a few 20′s, a few 10′s, several 5′s and a whole lot of 1′s. Also, get coins. You want to be able to make change for people or they may just decide not to buy.
  • Never accept personal checks unless you know the buyer well.
  • Since you are holding a sale in order to get rid of stuff, price accordingly. Nothing is more annoying than going to a sale where it appears the seller is trying to keep their stuff with overly high prices. Be willing to make deals and allow others to haggle prices within reason.
  • Keep your animals inside if you have them. There will be lots of strangers on your property and this can make your animals feel uncomfortable.
  • Try having a “Free” item from a box with purchase price. This is an extra incentive for people to buy.
  • Have a plan for leftovers. Arrange for pick-up by a charity before hand if you can.

Here’s to hoping your sale is an awesome hit!